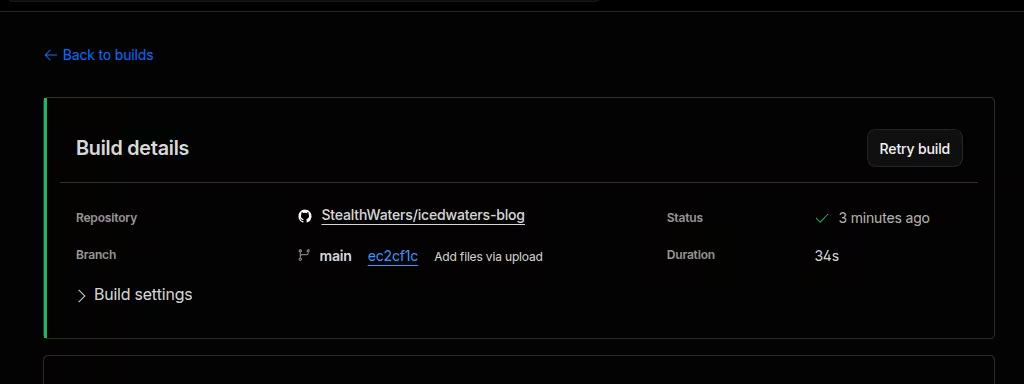
How to Host Blog Free (CloudFlare Workers/Pages)
Cloudflare Workers - A FREE At-Edge Deployment Service
So as usual, I was digging around the internet (as one does). I wanted to host a blogpost, but I couldn’t figure out how.
Now at the time of writing, I was stuck on a chromebook, so I tried to use Hugo with git, but Termux was too limited and I didn’t want to bother. So I tried Cloudflare Workers, and it works! (No pun intended)
This setup walks you through a clean, minimal template that has a home page, about (the author), and the blogs. It has a simple, easy to learn markdown (.md or .mdx) language for easy writing, meaning no code, and supports custom html, css, and javascript embedded! (Don’t try to host a full game inside it though)
It covers setting up, custom domain, and optimizing search results.
How to Set Up
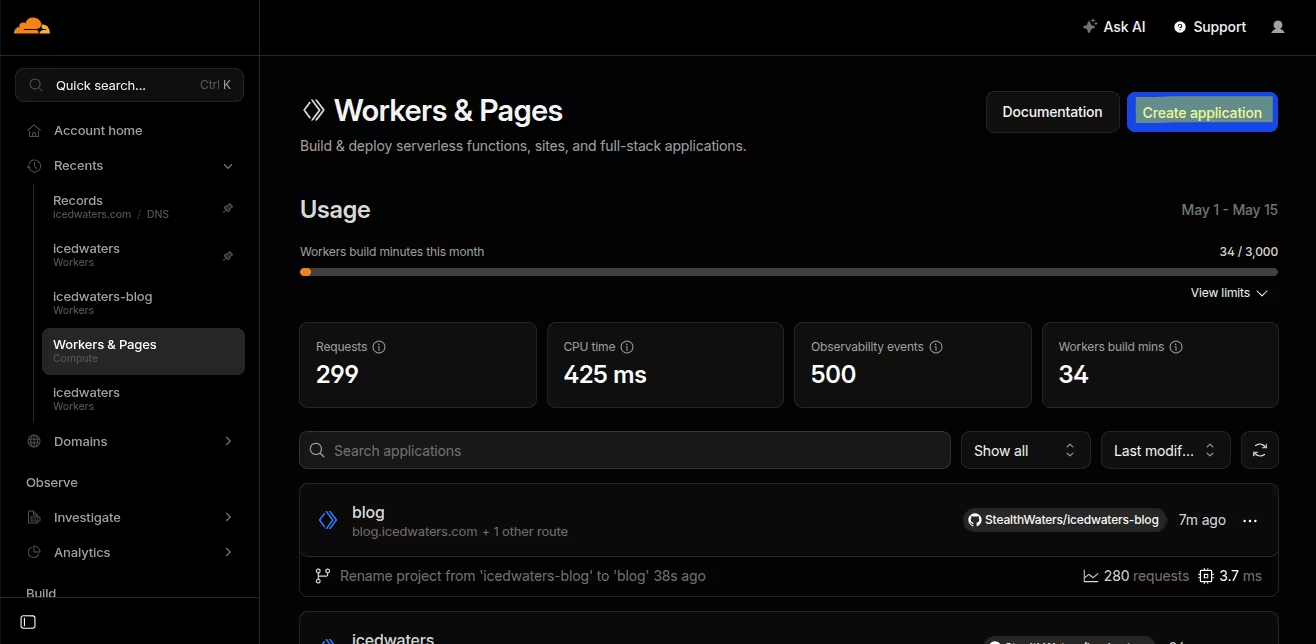
You will first create an application. This is straightforward and simple, just select “create application” from the Workers page.
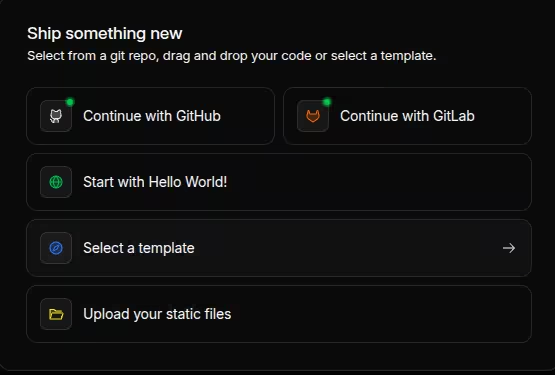
Once you’ve done that, choose “Select a Template”.
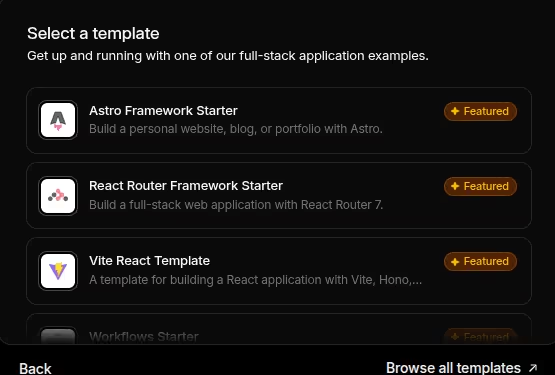
Then select Astro Framework Starter, first option. (Featured)
You can then pick between a GitHub account or GitLab account, and whether or not you want it private or private. (I recommend keeping it private so you can keep private notes that you won’t index. Choose the desired project name, and don’t change build or deploy settings. Once you’re done, click “Deploy”.
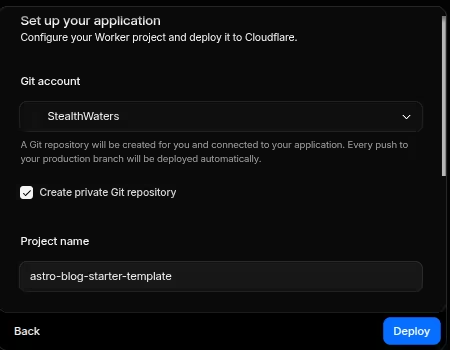
And you’re done! You can then go to your desired repository and edit it either directly in GitHub/GitLab’s web interface or push updates through Git. It should auto-update the website for every new post or content update that happens.
.astro files are the same markup as .html, so edit it as if it’s HTML.
Bonus: Setting up custom Domain
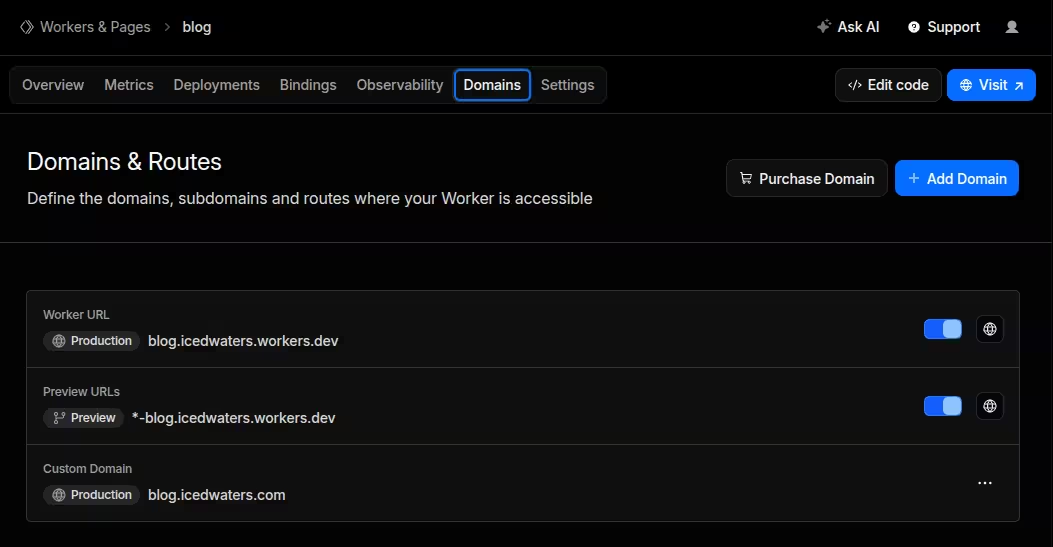
So CloudFlare actually provides a custom subdomain like blog.icedwaters.workers.dev but you can add custom domains if you purchased it like blog.icedwaters.com. You can either set it a custom subdomain like blog.example.com or www.example.com or root like example.com.
These bring your site to life and helps with SEO (search index optimization) and showing up on google search results. (How cool is that!)
Off the bat, the template offers SEO meta tags but it wouldn’t work properly without a custom domain. Here’s how! Go to your Worker, select “Domains”, then “Add Domain”. It’s as simple as that. You can also purchase cheap, same-price renewable domains that come with perks like custom CloudFlare tunnelling and free SSL certificates for HTTPS!
Search Engine Optimization (SEO)
Now that you have a website and a domain for it, you’d probably want it to be indexed properly so it shows up in google search results.
Indexing is where you tell the database (like Google’s “Google Search” search engine or Microsoft’s “Bing” search engine, which also serves DuckDuckGo) “This is a website!” with all its data like the description, keywords, favicon, etc. If you get it indexed on Google Search, sign up for a google account, go to the search console, add your website and verification DNS record, and tell it to crawl (store) and index (show on results). If it is already indexed on Google Search, it should auto-index on Bing as well. There’s also robots.txt, but that’s for another post.
To better explain, here’s a screenshot of my DNS setup:
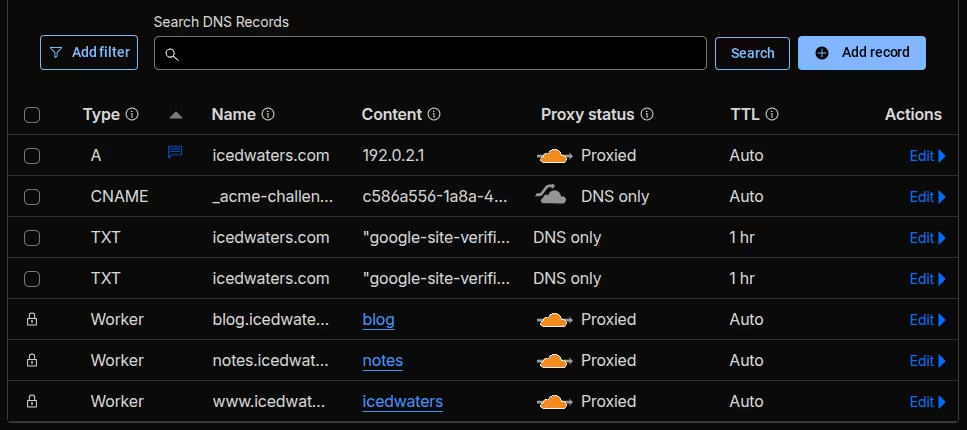
- The A record for
icedwaters.comto192.0.2.1redirects all root traffic (icedwaters.com) to www (www.icedwaters.com) - The CNAME record for
_acme-challengetoc586a556-1a8a-486...is for SSL encryption verification. - The TXT records for
icedwaters.comto"google-site-verification=...."is for my Google Search Console Domain Ownership Verification - The Worker records for
blog,notes, andicedwatersare the DNS records for my Workers websites with custom subdomain if you use CloudFlare Domain Registrar. This will be slightly different depending on the DNS provider you are using. These are the actual content websites. On CloudFlare's DNS, these are locked so you don't accidentally break it.
Conclusion
I hope you find this tutorial useful. Consider sharing it! Just copy the URL and share it.
Until then, next time. DOMAIN EXPANSION!!!